




Filmmaking · Exposure control
How Electronic Variable ND Filters Give Filmmakers Smoother Exposure Control
Changing light should not force you to change the look of your shot. Electronic variable ND helps filmmakers manage exposure while protecting their chosen depth of field, motion rendering, and visual continuity.
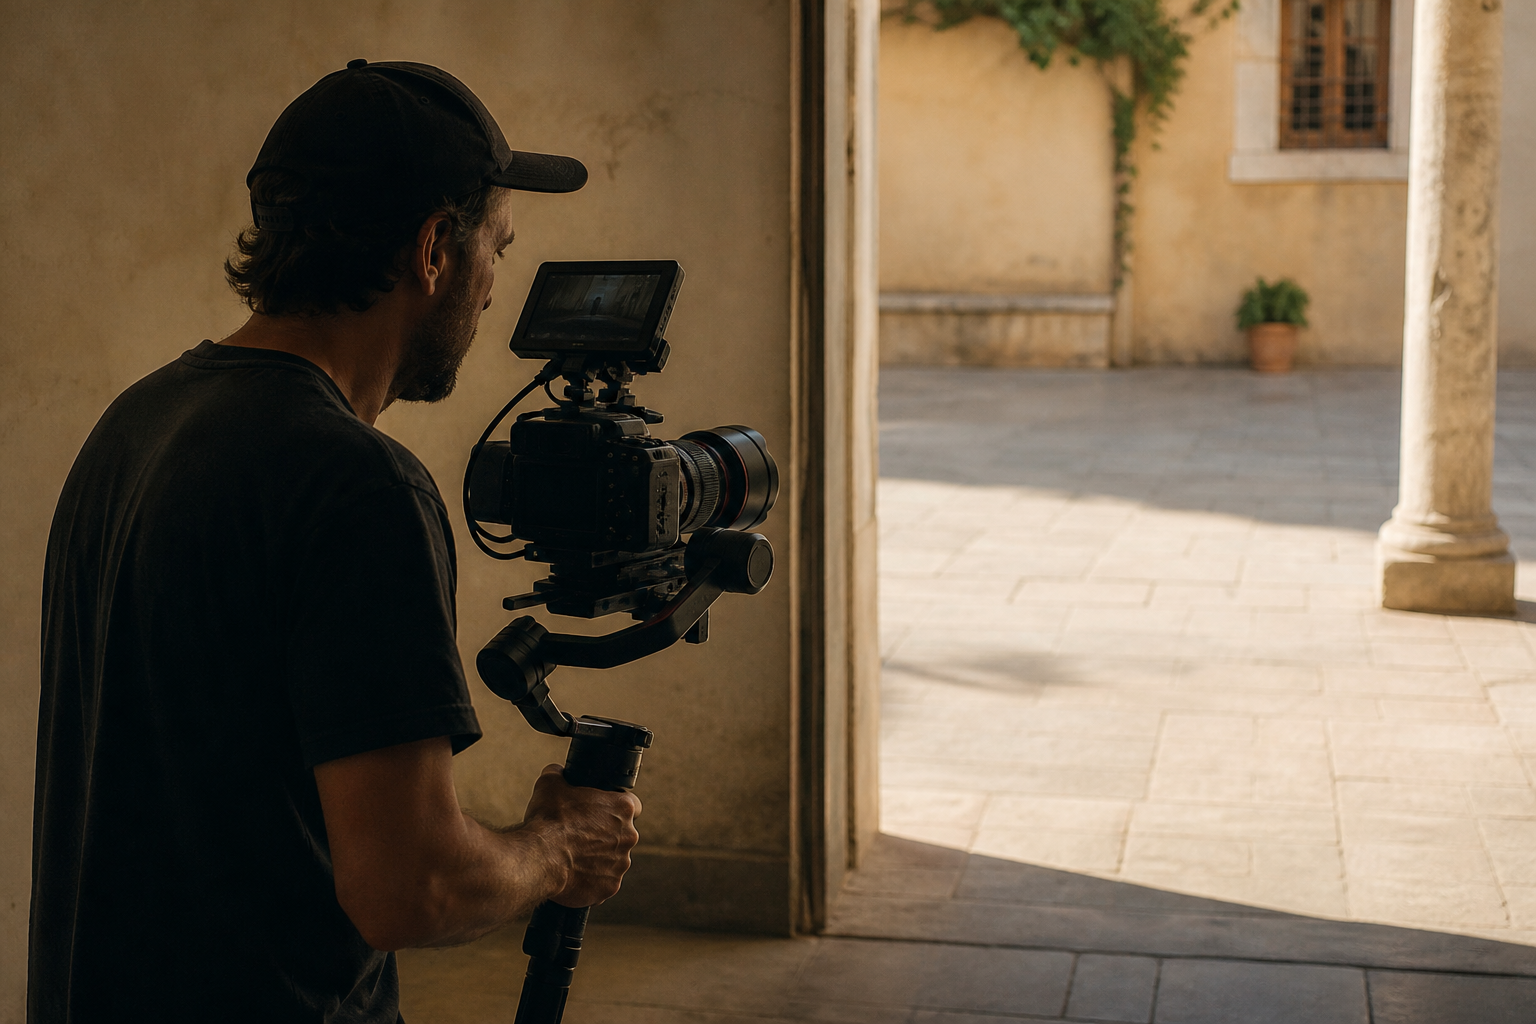
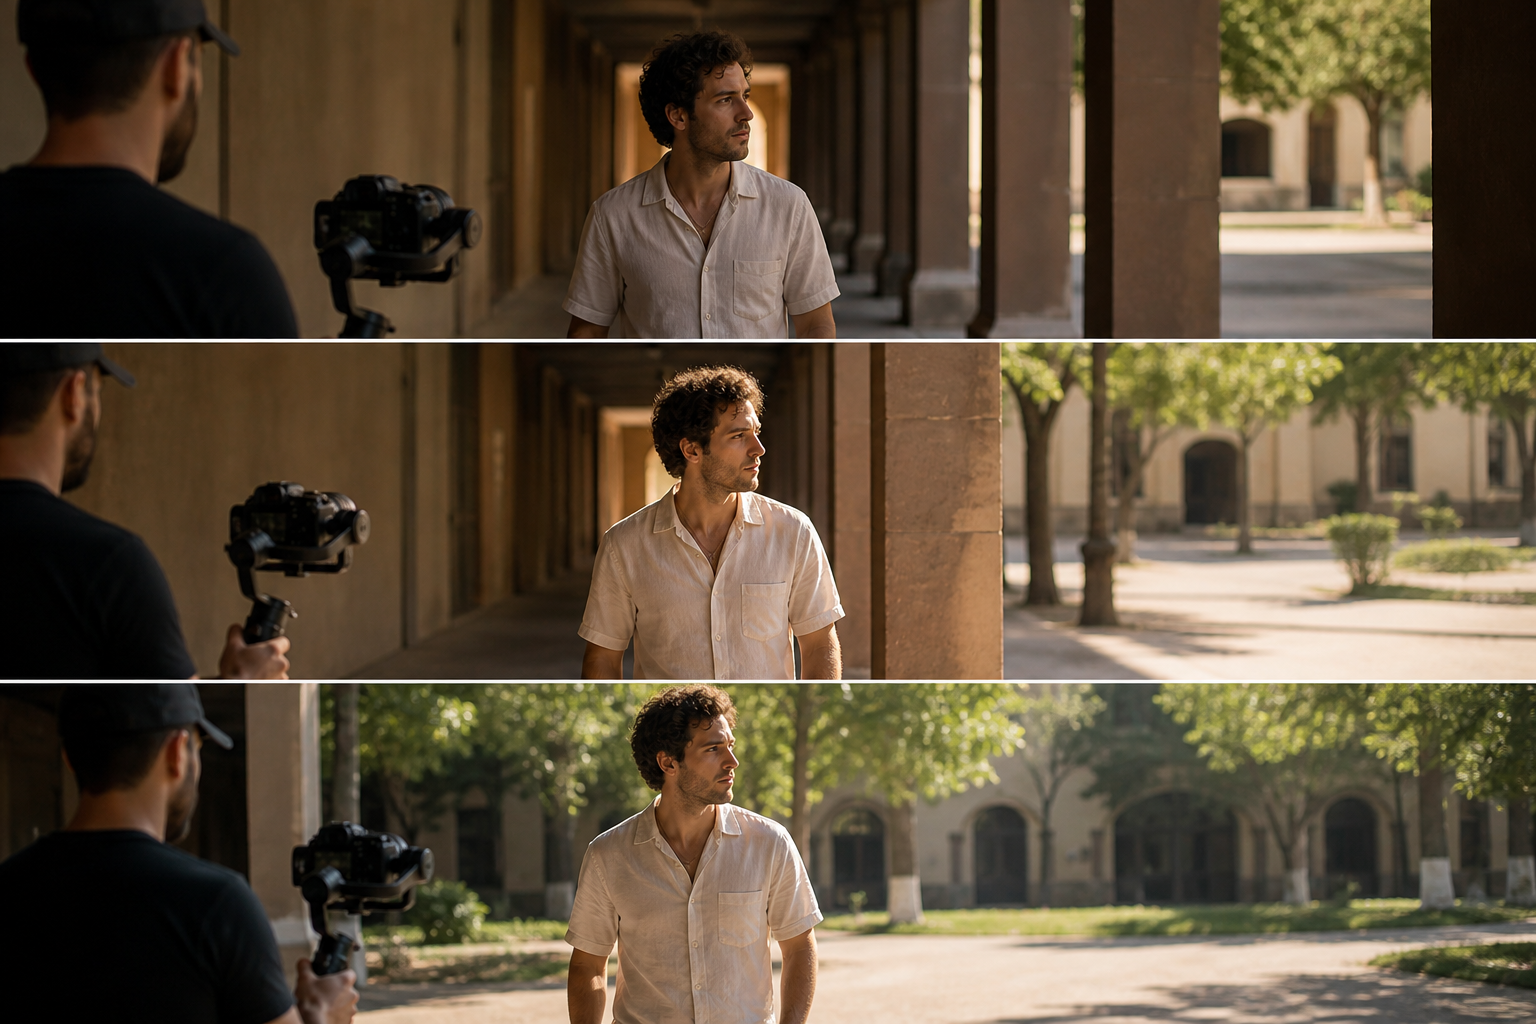
A performer walks through a shaded hallway, opens a door, and steps into afternoon sunlight. The camera follows without cutting. The movement is simple; keeping the exposure controlled is not. The settings that look right indoors can leave the courtyard badly overexposed.
Electronic variable ND filters give the operator another way to handle that transition: change how much light reaches the sensor, rather than change the aperture, shutter, or sensitivity. With a suitable system and a rehearsed adjustment, the exposure can move smoothly while the shot’s visual character stays consistent.
The important qualification is within the system’s limits. Electronic ND is not extra dynamic range, automatic lighting, or a guarantee of invisible transitions. Understanding what it actually controls is what makes it useful.
Why Changing Light Makes Exposure Control Difficult
For filmmaking, exposure settings are also creative settings. Changing one to solve a brightness problem can create a different visual problem:
- Aperture: Closing the iris reduces light, but increases depth of field. A softly separated background may become more recognizable, changing the composition’s emphasis.
- Shutter speed or angle: A shorter exposure reduces light but changes motion blur. Movement can suddenly look sharper or more staccato.
- ISO or gain: Adjustments can affect noise and highlight latitude, depending on the sensor, recording mode, and how the camera implements sensitivity.
Fixed ND filters avoid those particular changes, but swapping a front-mounted filter interrupts the take. Internal filter wheels are faster, yet moving between discrete densities can produce an obvious brightness step. Neither is ideal when the shot must remain continuous.
Electronic variable ND separates incoming-light control from those other decisions. Establish the look first, then use density to manage changing illumination—provided the required correction fits inside the available range.
How Electronic Variable ND Filters Work
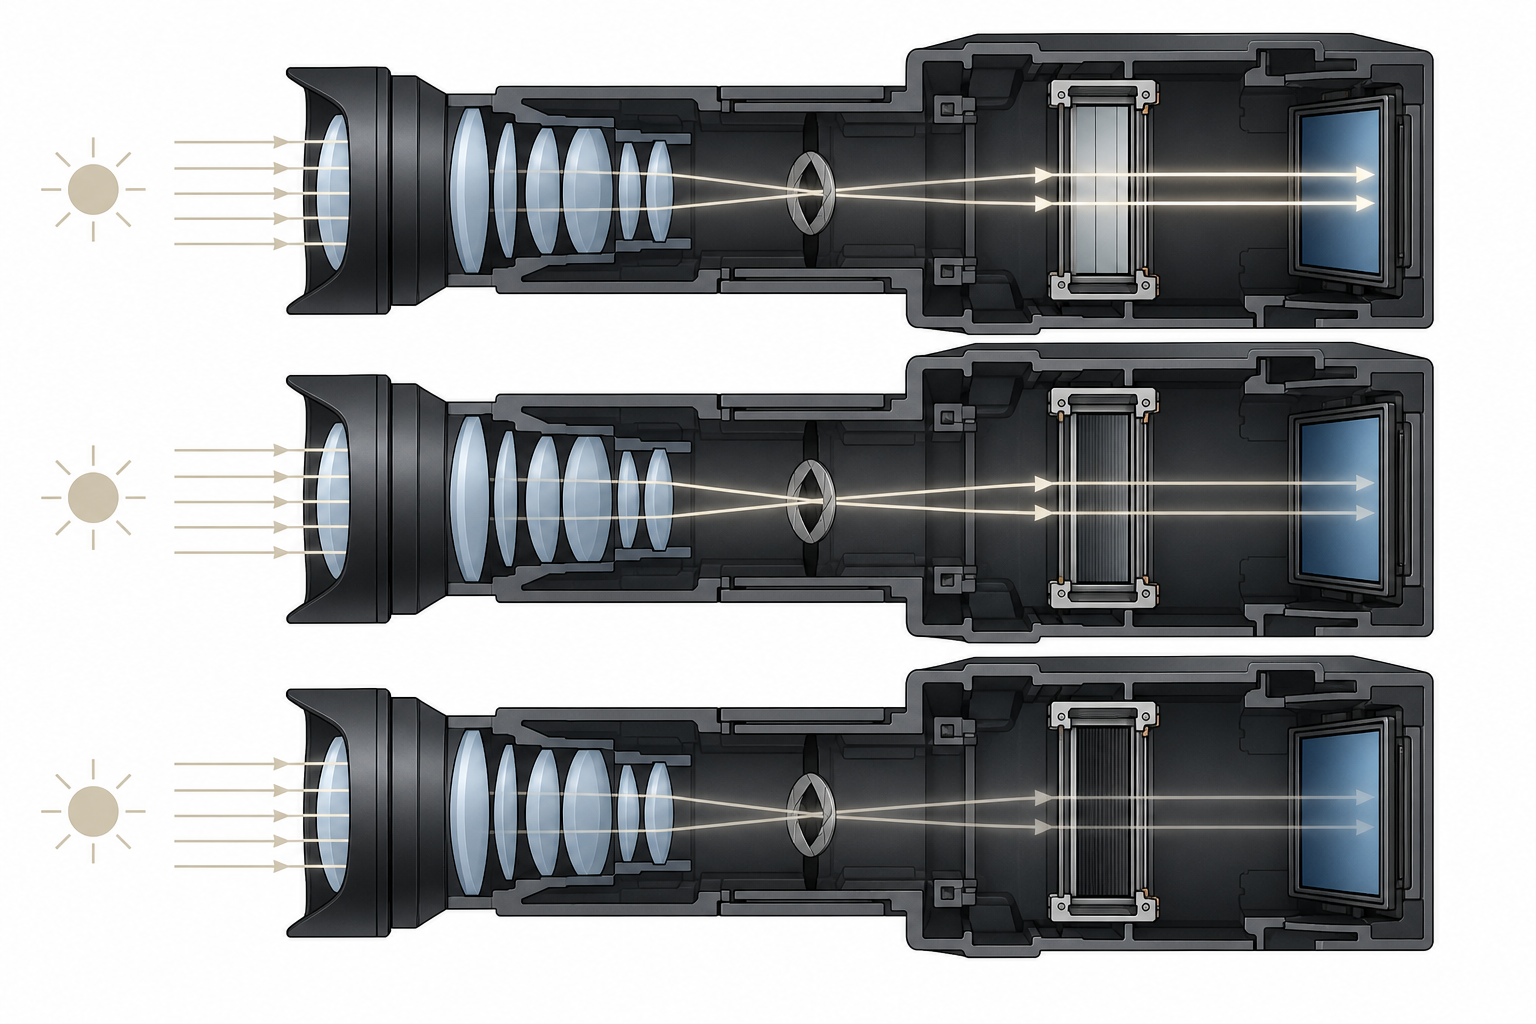
A neutral density filter attenuates light before it reaches the sensor, ideally without changing color. More density means less transmitted light. A reduction of one stop halves the light; three stops transmit one-eighth of the original amount.
An electronic variable ND system uses an electronically controlled optical element to vary transmission. The precise technology differs between products; some use liquid-crystal-based optical arrangements. From the operator’s perspective, the useful distinction is that density changes through camera controls rather than by physically rotating a conventional front-mounted variable ND ring.
This is optical attenuation, not digital darkening after capture. Selecting sufficient density can keep incoming light from saturating the sensor. Lowering the brightness of an already clipped recording cannot recreate the missing highlight detail.
Electronic does not always mean stepless
A motorized ND wheel is also electronically operated, but it still inserts fixed-density filters. That differs from a continuously variable electronic system capable of intermediate densities. Check the mechanism rather than relying on the word “electronic” in a specification.
Also check minimum attenuation, maximum density, and clear-filter operation. Some systems provide continuous adjustment only within their ND range; moving from clear into that range can involve a separate mechanical or optical transition. A smooth ramp between two ND settings does not guarantee a smooth transition from no ND to minimum ND.
The practical question is not simply whether a camera has variable ND. It is whether that ND can cover your shot’s required brightness change without a visible step, an endpoint, or an unwanted image change.
Keep Aperture and Shutter Consistent as Exposure Changes
Preserve the depth of field you planned
Suppose a close-up is framed at f/2.8 because you want the background soft. If illumination rises by three stops, adding three stops of ND can maintain approximately the same exposure without stopping down to f/8. The depth of field remains consistent, assuming focal length, focus distance, and framing also stay consistent.
That matters for both aesthetics and focus planning. An exposure adjustment should not unexpectedly change how clearly a distracting background reads or how a sequence matches neighboring shots.
Maintain deliberate motion rendering
A 180-degree shutter is a common starting point for natural-looking motion, though not a universal rule. At 24 fps, it corresponds to approximately 1/48 second. Shortening exposure to tame sunlight changes the blur associated with moving subjects and camera movement.
Adding ND instead lets the chosen shutter remain fixed. The appropriate shutter may still depend on creative intent, lighting flicker, displays in the scene, or other production requirements; ND preserves that decision rather than making it for you.
Variable ND can similarly reduce sensitivity changes during a take. Choose ISO or gain based on the camera and recording mode, not on a blanket assumption that the lowest number always produces the best image.
The goal is not identical brightness everywhere. It is controlled exposure without an unintended change in the language of the shot.
Understand what ND cannot fix
ND reduces the light from the whole image. It does not reduce the brightness difference between a shaded face and a sunlit background. If that contrast exceeds what the camera can capture acceptably, you may still need fill light, diffusion, a different camera angle, or a different shooting time.
Nor can ND brighten a scene beyond its minimum attenuation or recover highlights already clipped in recorded footage. Stepless control makes exposure ramps possible, but their speed, smoothness, and repeatability remain system-dependent.
Where Electronic Variable ND Helps Most on Set
Interior-to-exterior tracking shots
For the hallway-to-courtyard move, an operator can increase density as the performer enters stronger light, retaining the selected aperture and shutter. Rehearsal reveals where the ramp should begin and how much density the exterior requires.
However, if the interior already requires clear mode, minimum ND may make the opening too dark. This is where range planning matters more than the promise of a smooth adjustment. Lighting the interior, changing the route, or choosing a different transition point may be necessary.
Documentary, events, and compact rigs
Documentary subjects rarely pause while an operator changes filters. Moving between open shade and sunlight, following someone past windows, or working under passing clouds all favor quick exposure control.
On a gimbal, adjusting ND through a supported grip or remote can also avoid reaching toward the lens and disturbing the rig. Confirm that your specific camera and controller expose the required ND functions; remote compatibility is not automatic.
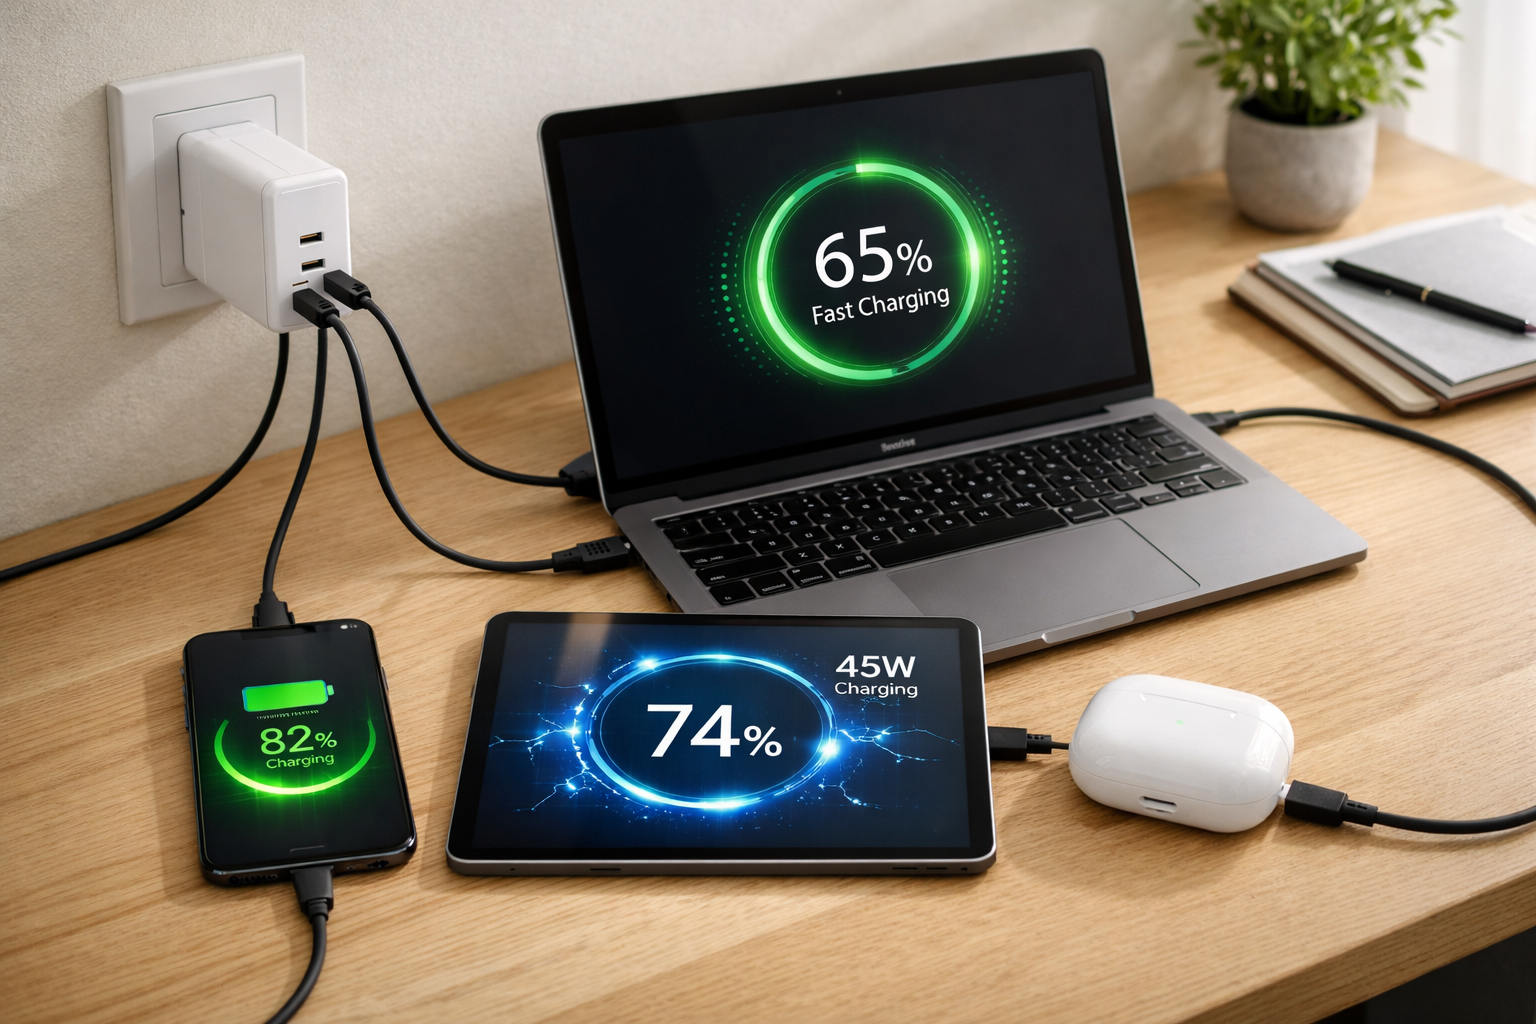
Compact rigs also benefit from deliberate power planning. If your equipment supports USB-C input, understanding how USB-C PD 3.1 supports high-power portable gear can help you evaluate suitable supplies. Check the camera’s actual voltage, protocol, cable, and power requirements rather than assuming any USB-C connection will work.
Close-ups and daylight-dependent product work
A product shot beside a window may rely on a particular aperture to keep a label sharp while the background falls away. ND adjustments can compensate for gradual daylight changes without altering that balance. The same principle helps maintain continuity across dramatic close-ups.
Still, exposure need not remain perfectly constant. A bright courtyard may be meant to feel dazzling; a dark room may be meant to stay dark. A carefully directed manual ramp can preserve those differences better than automation trying to normalize every composition.
Manual Ramps or Auto ND: Choosing the Right Workflow
A repeatable manual approach
- Set the creative variables. Choose aperture, frame rate, shutter, and sensitivity for the intended image.
- Measure both ends of the move. Check the subject and important highlights at the darkest and brightest positions.
- Confirm density headroom. Ensure neither endpoint requires more or less attenuation than the system can deliver.
- Rehearse the ramp. Adjust ND while watching waveform, false color, or zebras configured appropriately for your recording and monitoring pipeline.
- Review the recording. Look for exposure bumps, color shifts, and whether the transition supports the scene emotionally.
A manual ramp offers intentional timing. You can delay correction slightly as a door opens, for example, allowing a brief impression of brightness before settling onto the performer.
When auto ND earns its place
On compatible cameras, auto ND varies density toward a metered exposure target while other settings remain fixed. It can be valuable for unpredictable action, but confirm that auto iris, auto gain, or automatic shutter changes are not also active if you intend to lock them.
Metering behavior matters. A bright window entering the frame may cause the system to darken a face you wanted to protect. Practical lights, reflective surfaces, or a change in composition can likewise provoke an unwanted correction.
Where supported, test response speed, exposure compensation, metering area, and subject priorities. A fast response may look nervous; a slow one may leave the subject overexposed during a sudden transition. The right compromise depends on the action.
- Verify minimum density, maximum density, and behavior when the system reaches either limit.
- Test whether entering or leaving clear mode interrupts a continuous ramp.
- Confirm manual and remote control access on the actual rig.
- Check automatic metering against the intended subject, not just the overall image.
- Prepare a fallback: relight, change blocking, add suitable filtration, or revise exposure settings between takes.
Electronic Variable ND vs. Other ND Options: Trade-Offs to Check
No ND format is universally best. The useful comparison is how each fits the camera, image-quality requirements, and pace of production.
- Fixed ND filters: Straightforward, available for many lens and matte-box configurations, and often excellent optically. Changing strength typically requires a swap or a discrete internal step.
- Rotating variable ND filters: Offer continuous adjustment and can move between compatible cameras. Physical access, lens-thread sizes, and polarization-related behavior need consideration.
- Electronic variable ND: Can provide integrated, repeatable, and potentially automated control. Availability, cost, power requirements, and camera-system dependence can limit flexibility.
Conventional rotating variable ND filters can change reflections or sky appearance because of polarization, and some show cross-pattern artifacts at extreme settings. Electronic systems need their own model-specific tests; a different control method does not guarantee freedom from optical compromises.
Test the image, not just the feature list
Record a neutral target, skin tones, fine detail, dark fabrics, and a bright source at several densities. Evaluate:
- Color neutrality: Does white balance appear to drift across the ramp?
- Uniformity: Are the center and corners attenuated consistently?
- Infrared contamination: Do dark materials develop unwanted color casts at stronger densities?
- Reflections and detail: Do flare, ghosting, or apparent sharpness change?
Still-frame comparisons can make subtle differences easier to inspect; the tools in this guide to free photo editing software can help with side-by-side review. Also watch moving footage, because a small color shift becomes more noticeable when it changes during a take.
Electronic variable ND does not replace a dedicated polarizer when you want intentional control over glare or reflections. Test stacked filters before production: combinations can introduce color changes, reflections, or vignetting.
Finally, consider ownership beyond a single shoot. Integrated ND may save substantial time for a documentary operator, while transferable filters may suit someone using several camera bodies. The broader principles behind modular electronics and longer equipment life are relevant here: convenience today should be weighed against compatibility, servicing, and future upgrades.
Test a Lighting Transition Before Your Next Shoot
Electronic variable ND filters give filmmakers a practical way to control incoming light without continually changing aperture, shutter, or sensitivity. Their strongest advantage is continuity: a chosen depth of field and motion character can survive changing illumination with fewer physical interventions.
The best results still depend on density range, clear-mode behavior, optical quality, and thoughtful control. Auto ND is useful when its metering follows your priorities; manual ramps remain valuable when timing and dramatic intent matter most.
Before committing, lock your preferred settings and rehearse a simple shade-to-sun move. Record a manual ramp, then try auto ND if available. Review smoothness, color consistency, subject exposure, and endpoint behavior. That short test will tell you more about the system’s value to your filmmaking than a feature list alone.